
Photoshop Bootcamp Guide
Working With Type In Photoshop
How To Make Paragraph Text In Photoshop
 Frequently in Photoshop, you will use the Type tool to simply click once and add a few words or lines. While this is a quick and easy way to work with a small amount of text, it’s not great if you want to make paragraphs and have full control over their design. In this short tutorial, I’ll show you how to make paragraphs or blocks of text using the Type tool in Photoshop.
Adding A Paragraph Of Text In Photoshop
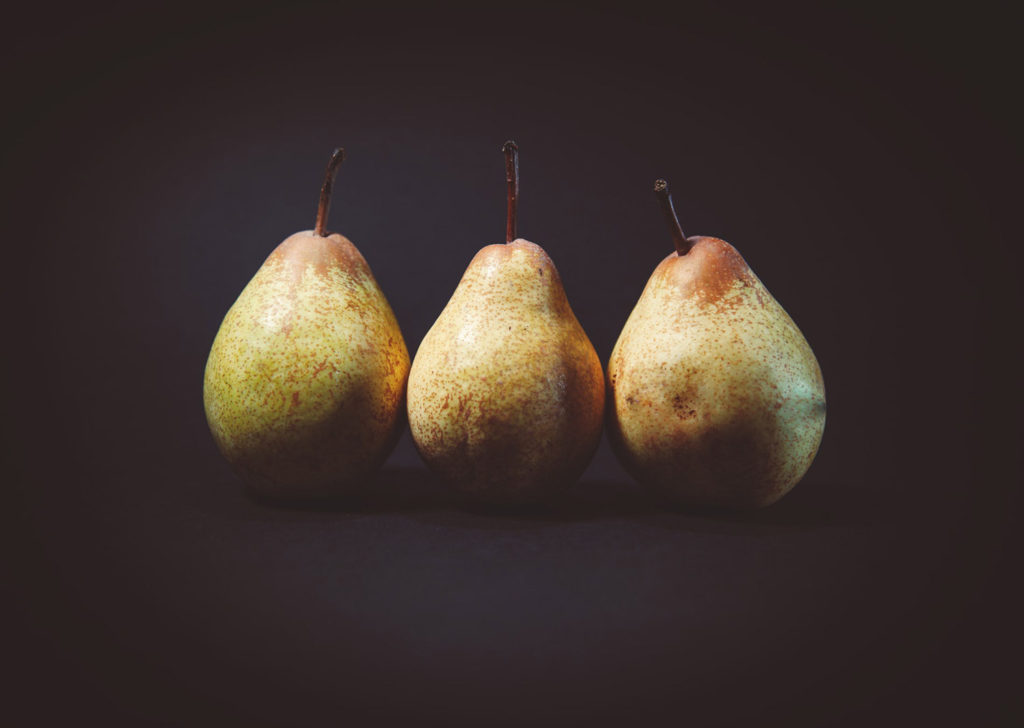
1. Open or create an image that you want to add a paragraph of text to. I’m using this picture of three pears. You can download this photo by Clem Onojeghuo on Unsplash.
2. Select the Type tool in the toolbar or press T. We’ll set up the type options using the Character panel. If the Character panel is not visible on your screen, choose Window > Character.

I’m using Century as the typeface, I’ve set the Size to 12 points, Leading to Auto, Tracking to 0, and Colour to white.
3. Click the Paragraph tab to bring the Paragraph panel forward, and click the Justify Last Left button.

4. With the Type Tool selected, click and drag out a rectangular marquee on the image, underneath the three pears. This creates a text box into which your text will flow.
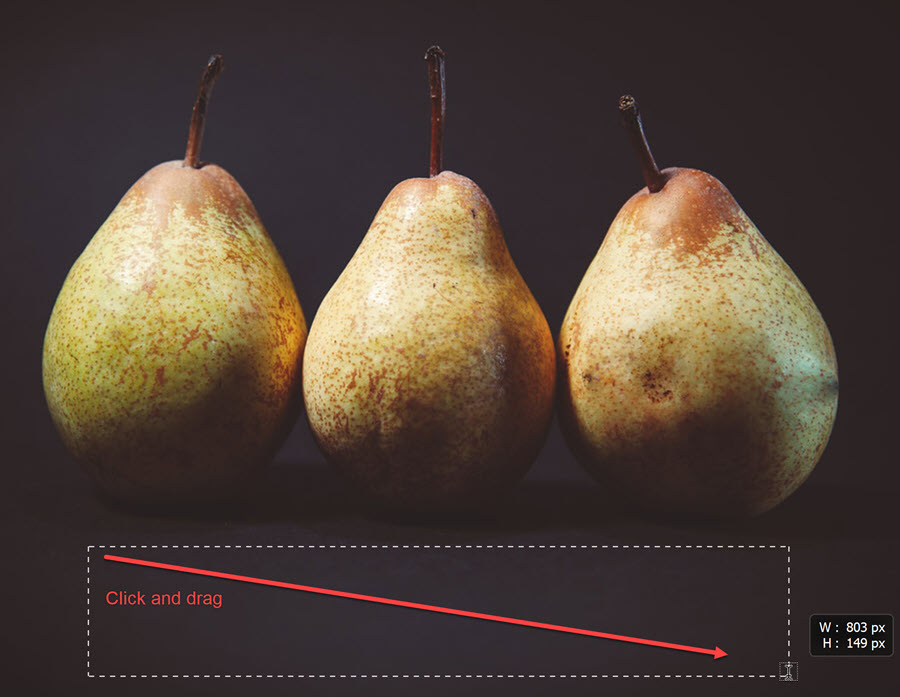
Photoshop will automatically add some Lorem Ipsum dummy text to the text box. You can either start typing on top of that text or if you have copied some text from another document or web page, press Ctrl+V (Windows) or Cmd + V (Mac) to paste the text that you copied into the text box. Your text will now flow neatly from one side of the text box to the other because you selected Justified from the paragraph palette.

Editing Paragraphs Of Text In Photoshop
Once your text is in the text box, you can use the Move tool to drag the text to wherever you want on the image. How do you edit and change the text inside the box?
1. To change text inside the text box, you must first select it. You can select text in a few ways. Firstly select the Type tool in the toolbar (T)
- Click once to put the cursor where you want it in the text and drag along to highlight. All highlighted text is selected and now you can make changes in the Character panel.
or - Double Click to select a word, triple-click to select a whole sentence, click four times to select a whole paragraph, or click five times to select ALL of the text in the text box.
Once the text is selected, use the Character panel, or the Options bar at the top of the interface to change the formatting.
I changed my text typeface to Roboto, size to 16, Leading to 18 (amount of space between lines), and changed the colour to cream.
To commit the changes to the text, click on the Checkmark on the Options bar or click on any other tool in the toolbar.![]()
How to change the size of the text box
To change the size of the box holding the text, select the Type tool again and click once anywhere inside the text box. You’ll see eight handles - four in the corners and one in the middle of each side. When you move your cursor over any of these handles, the cursor changes to a double arrow.

Click and drag to resize the box in any direction.

Notice that the text wraps automatically when we change the size of the box. In this case, we’re getting a justified alignment on all of the text with the only the last line aligned to the left. You can change the alignment of paragraph text in the Paragraph panel.

Other options in the Photoshop panel include indenting the paragraph on the left or right side. Indenting the first line of the paragraph or adding space before or after the paragraph. Remember you must have your cursor flashing inside a paragraph or have a paragraph highlighted before any of these options will take effect.
That’s how we can create paragraph text and take control of how it appears in Photoshop.
Please share this tutorial. Thanks a million!


Jennifer Farley
Hello! I'm Jennifer Farley.
I am an Adobe Education Trainer and have been teaching and helping people learn Photoshop, Illustrator and InDesign for over 15 years, and Lightroom for over 10 years.
I am an award-winning illustrator and designer and I use this software everyday for my own work. I hope you find these Photoshop tutorials and lessons useful. These are the notes I have written for my own design classes which I'm happy to share with you as you learn more about this amazingly fun and creative app. Read more About Me >>
Join the Photoshop Newsletter & Get A Free Toolbar Cheatsheet
Other tutorials in the Photoshop Type Guide:
Get a Free Photoshop CC Toolbar Cheat Sheet
One of the best ways to improve your skills and speed up your workflow in Photoshop is to use keyboard shortcuts. This giant, printable cheat sheet shows all of the shortcuts for every tool in the toolbox.
Join over 1500 Photoshop beginners and improvers who have signed up to the Photoshop Bootcamp newsletter. Get Photoshop tips and tutorials delivered right to your inbox.
![]()
Get A Free Printable Photoshop Toolbar Cheatsheet

Subscribe now to get a free printable poster showing all of the Photoshop tools and their keyboard shortcut.
Thank you so much for that good idea
You’re very welcome John, glad you found it useful.