What Is Adobe Bridge?
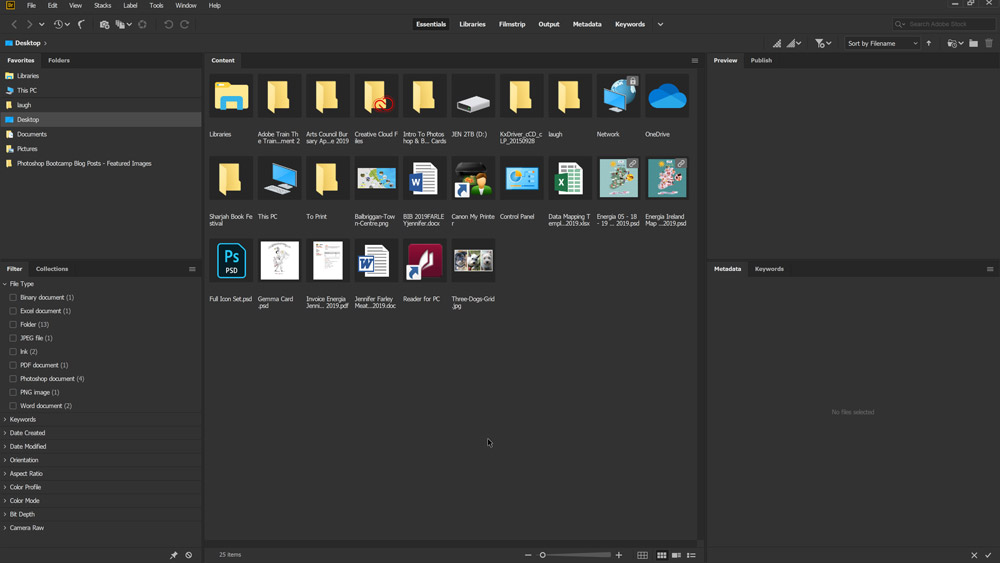
Adobe Bridge is an application that helps us organize, search and browse our through our files in a visual way. We can use Bridge to preview and access many different types of documents. Not just Photoshop files.
You can preview images, text files, PDFs, InDesign files, video files, even audio files. We can view previews of these files without opening them in their native applications so it is a real timesaver.
Whilst teaching in the classroom, I have found that many of my students have heard of Adobe Bridge, but they don’t actually use it. I think that once you learn a bit more about it and spend some time using it, you’ll find that it’s a valuable part of your workflow editing and creating images. In this short post, I’ll show you how to find your images in Bridge and then open them in Photoshop.
Note: You’ll need to have Bridge installed on your computer. Bridge is an application that comes with your Adobe Creative Cloud subscription. If Bridge isn’t installed, you’ll need to install it from Adobe Creative Cloud. Click Here To Download A Free Creative Cloud Trial
Open Bridge
1. In Photoshop, choose File > Browse In Bridge. (If you’re asked to enable the Photoshop extension in Bridge, click Yes or OK.)
Adobe Bridge opens, displaying a collection of panels, menus, and button.

2. Select the Folders tab in the upper left corner, and then browse to find your photos or images on your computer or external drive.

3. (Optional) If your images are in a folder that you will use frequently, you can choose File > Add To
Favorites. Adding files and folders that you use often to the Favorites panel lets you access them quickly.
Thumbnail View
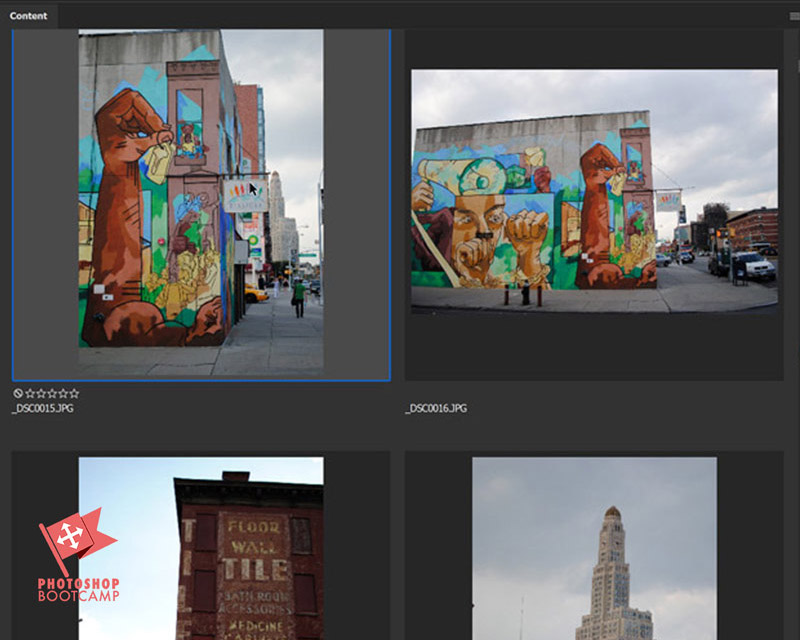
4. You will see thumbnail versions of your files in the folder you have selected. When you click a file, you will see a larger version of the thumbnail in the Content panel.
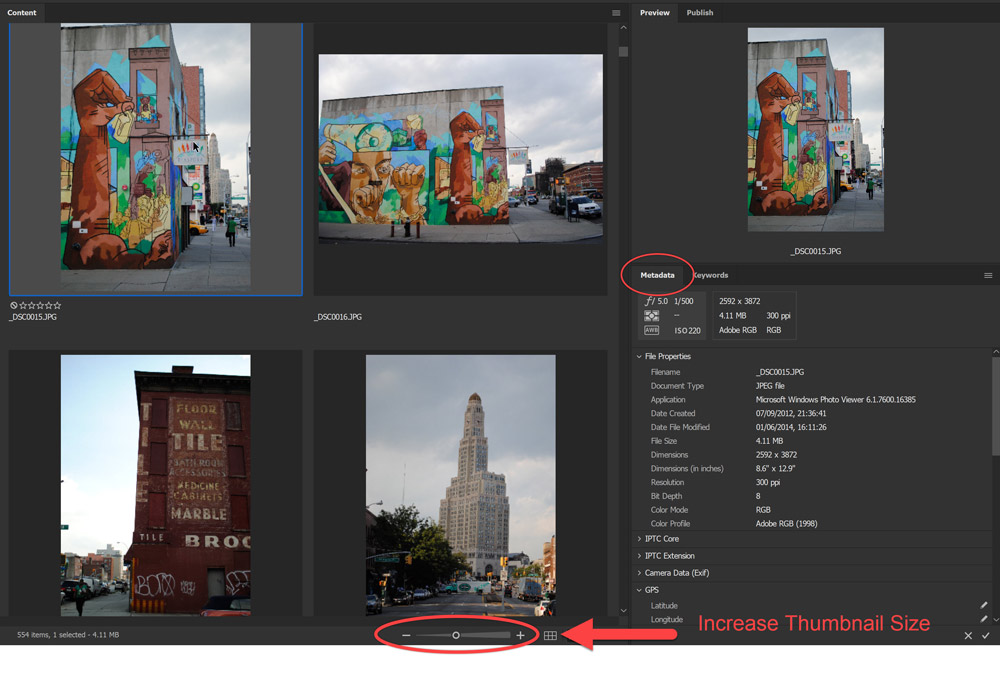
To enlarge the thumbnails in the Content panel, drag the thumbnail slider at the bottom of the Bridge window to the right.
 In Bridge, you can see a larger preview of a selected item in the Preview panel. If you can’t see the Preview Panel on the right-hand side, choose Window > Preview Panel.
The Metadata panel below the Preview Panel shows information about the image. This is particularly useful for photographers who want to keep track of their camera setting for any particular image.
5. To open a selected file in Photoshop, simply double-click the thumbnail to open the file in Photoshop.
And that’s it! An easy, visual way to work with lots of different types of files.
Please share this tutorial with your friends or anyone who might find it useful. Thank you!


