Photoshop Bootcamp Guide 6
Layer Masks
The ability to use Layer Masks in Photoshops allows you to combine images and create compositions in a non-destructive way. Masks let us hide and show parts of a layer and are an essential skill for anyone creating graphics or editing photographs.
In this short Photoshop tutorial, we’ll look at how to sharpen an image using a Layer Mask to pick out only the parts of the image that we want to sharpen. Layer masks in Photoshop are a fantastic tool for retouching photos because they allow us to show and hide parts of a layer, so we can be precise about which parts of the image we are changing. Importantly they are a non-destructive and reversible way to edit images. So we can edit to our heart’s content, and then change it back easily.
How To Use Layer Masks In Photoshop
If you’re new to Layer Masks and would like to learn more about them, check out my Beginner’s Guide To Layer Masks, which explains everything you need to get started.
Today’s tutorial features the layer mask but this time we’re looking at a technique photographers use to give subtle sharpening to a portrait. The key thing to remember when working with Layer Masks is:
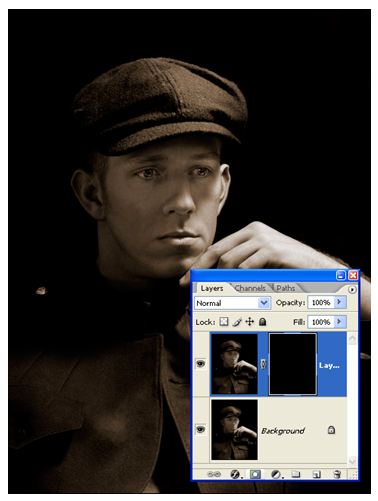
- areas painted in black on the mask are hidden on those layers.
- areas painted in white on the mask are visible.
Let’s retouch!
1. Open a portrait-style image.
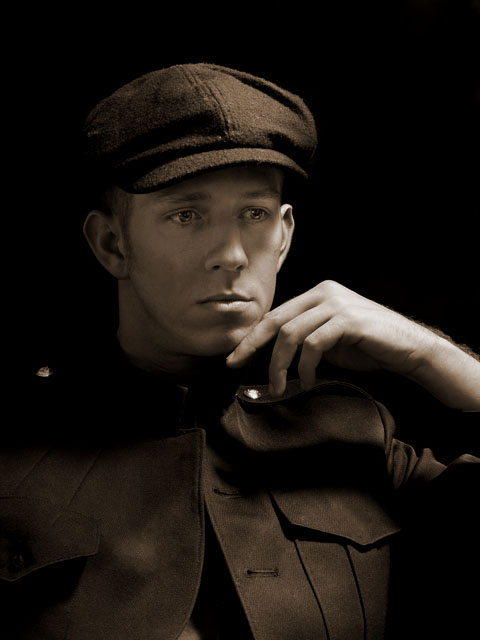
2. Duplicate the background layer by pressing Ctrl + J (Windows) or Cmd + J (Mac).
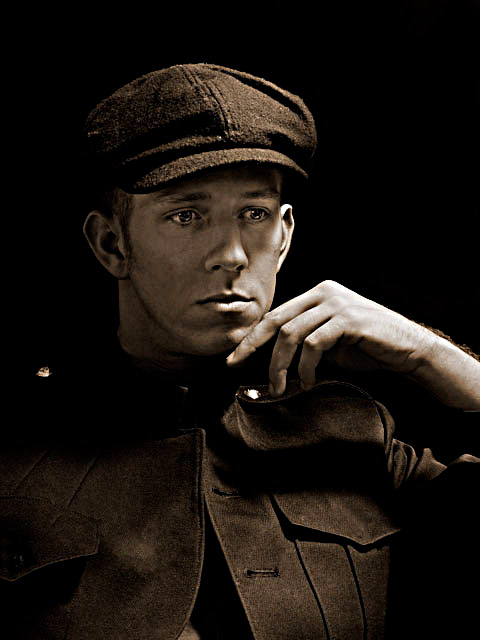
3. Make sure the duplicated layer is selected in the layers palette and then choose Filter > Sharpen > Unsharp Mask. Use the Amount and Radius sliders to increase the sharpening on the image. Overall, the image may look too sharp, but that’s ok because we are going to hide most of it with a mask. (For the purposes of demonstration I’ve COMPLETELY oversharpened here.)
4. Alt-click (Windows) or Option-click (Mac) the Layer Mask button at the bottom of the layers palette to add a black layer mask, which hides the entire layer. It appears as if the current sharpened layer is now invisible and you will only see your original starting photo.
You’ll now paint in the eyes and lips using white.
5. Set the foreground colour to white. Make sure that the layer mask is selected in the layer by clicking on the mask thumbnail on the layers panel. You want to paint on the mask and not paint white pixels on your image.
6. Select a soft round tip Paintbrush (B on the keyboard) and paint over the eyes and lips. Notice the black mask thumbnail shows exactly where we painted with white. The eyes and lips on the image are now nice and sharp, while the rest of the face appears softer.
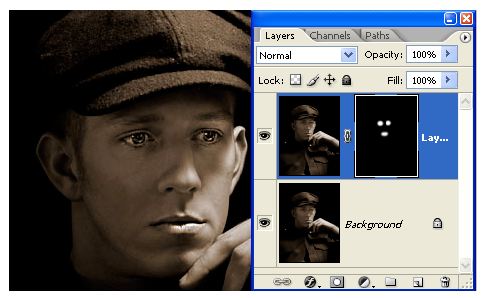
And that’s an example of ONE way to sharpen a portrait in Photoshop.
I hope you found it useful. Please share this Photoshop tutorial with your friends, neighbours, the world! Thank you.
You may also be interested in another Layer Mask Photoshop tutorial about how to create a really cool photo to ink drawing special effect using a layer mask and a gradient.
Instructor
Hi I’m Jennifer.
I am an Adobe Education Trainer and have been teaching Photoshop, Illustrator and InDesign for over 15 years.
I also work as an illustrator and designer so as well as helping people learn Photoshop, I also use it everyday for my own work.
Other beginner tutorials in the Photoshop Workspace Guide:
Get a Free Photoshop CC Toolbar Cheat Sheet
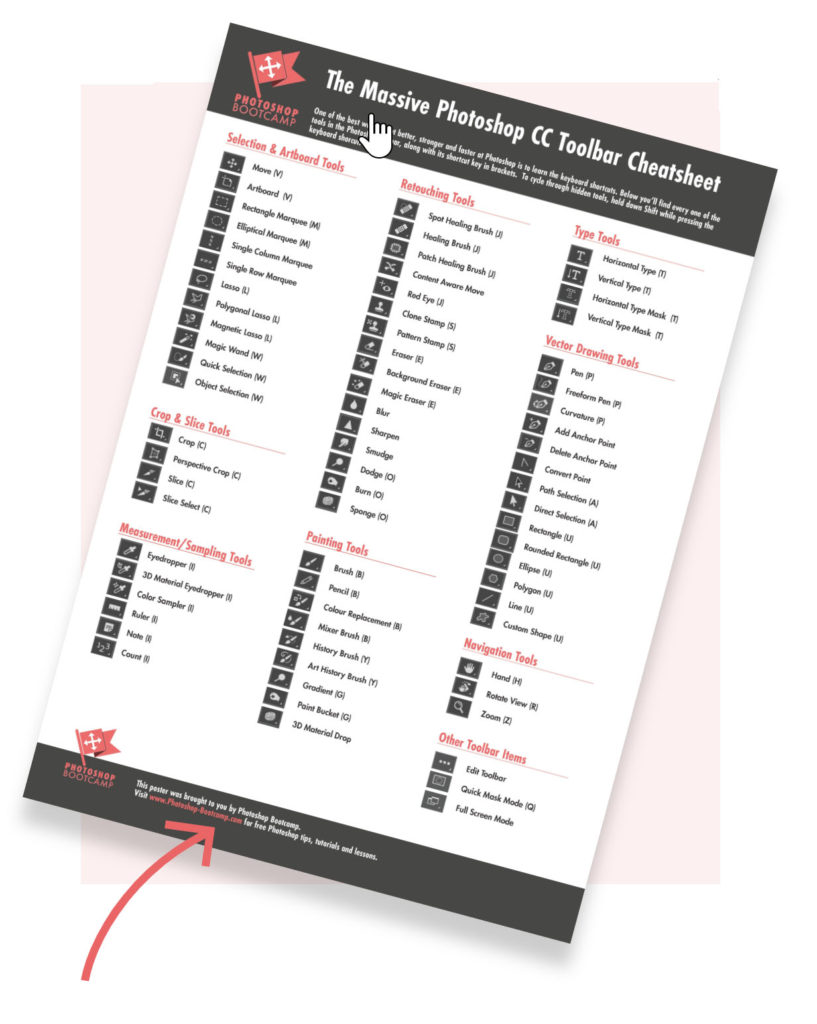
One of the best ways to improve your skills and speed up your workflow in Photoshop is to use keyboard shortcuts. This giant, printable cheat sheet shows all of the shortcuts for every tool in the toolbox.
Join over 1500 Photoshop beginners and improvers who have signed up to the Photoshop Bootcamp newsletter. Get Photoshop tips and tutorials delivered right to your inbox.
