
Straighten and crop an image
Do you want to fix a crooked photo? It’s quick and easy to straighten and crop your photos using the Crop Overlay Tool and Straighten tool in Lightroom.
You can get a free Adobe Photography Plan 7-day trial here.
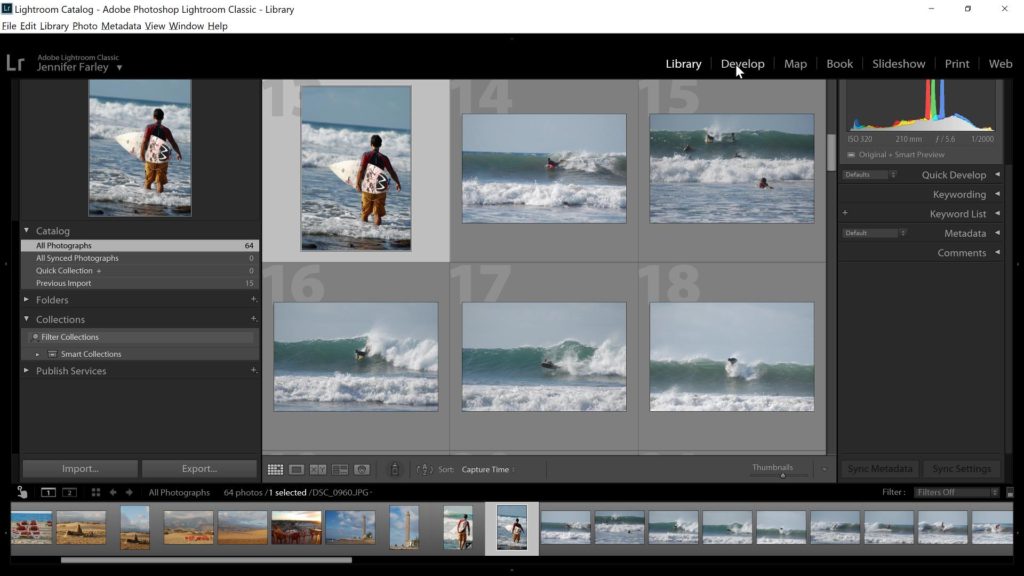
Open Lightroom. In the Library module select the photo that you want to straighten. Then, click on the Develop module at the top of the screen or use the keyboard shortcut D.
The image opens in the Develop module.
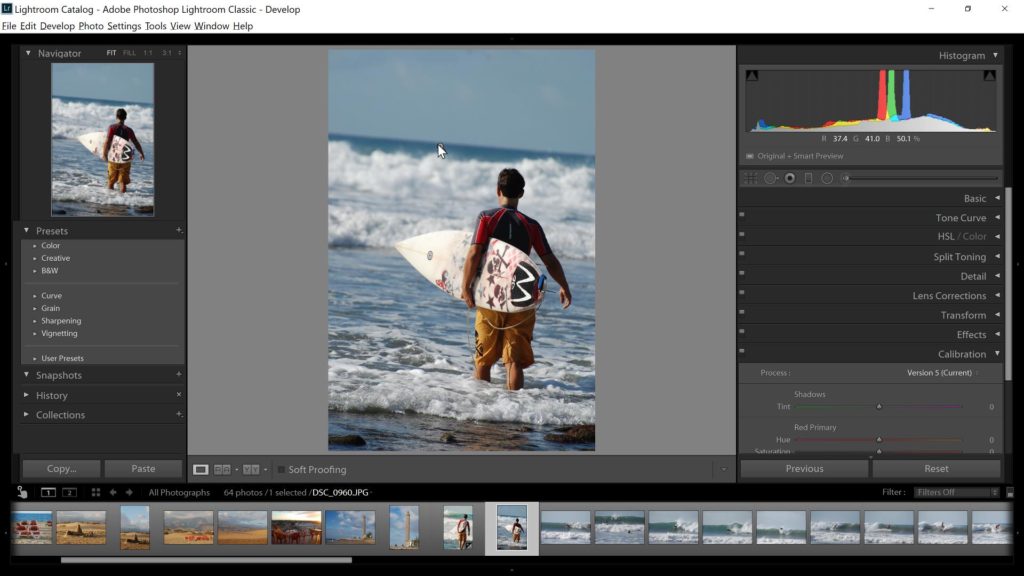
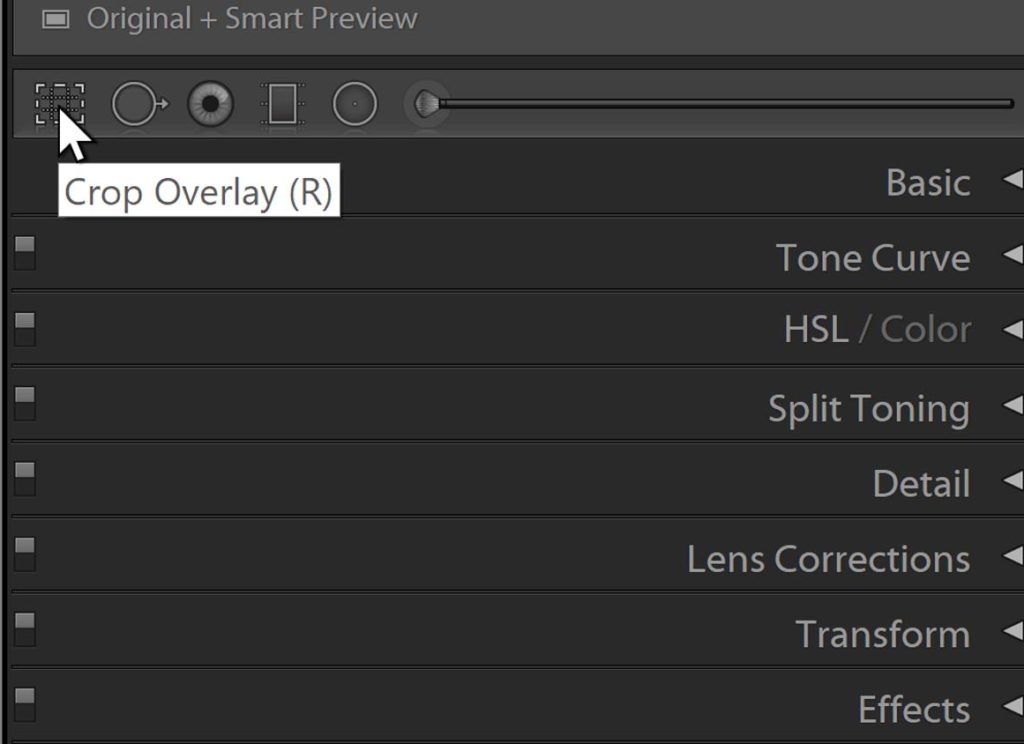
Under the Histogram panel on the right-hand side of the screen, click on the Crop Overlay Tool (or press R on the keyboard).
When you click on the Crop Overlay Tool an additional set of tools and settings appear on the right-hand side. These tools let us crop and straighten.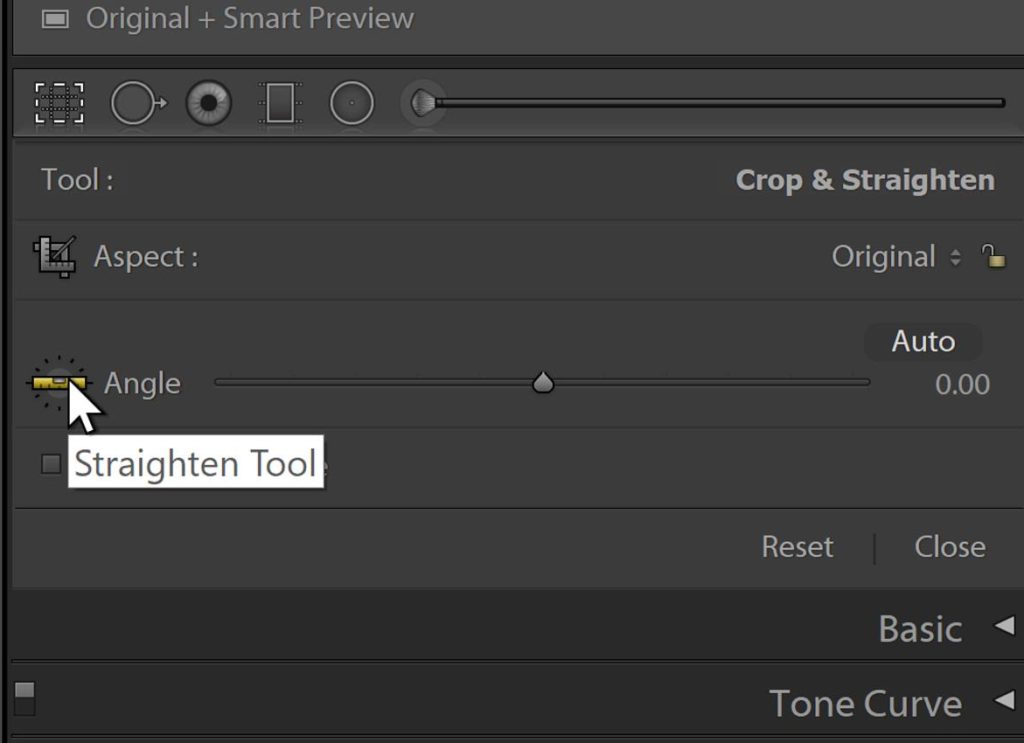
Note: In order to maintain the original aspect ratio of an image when you crop it manually, make sure that Original is selected from the cropping Aspect menu and that the aspect ratio is locked.
Click the Straighten tool (it looks like an icon of a tiny spirit level to the left of the word Angle).
The cursor now changes to crosshairs. On a part of your photograph that you know should be horizontal, click and drag a straight line that follows this straight edge.
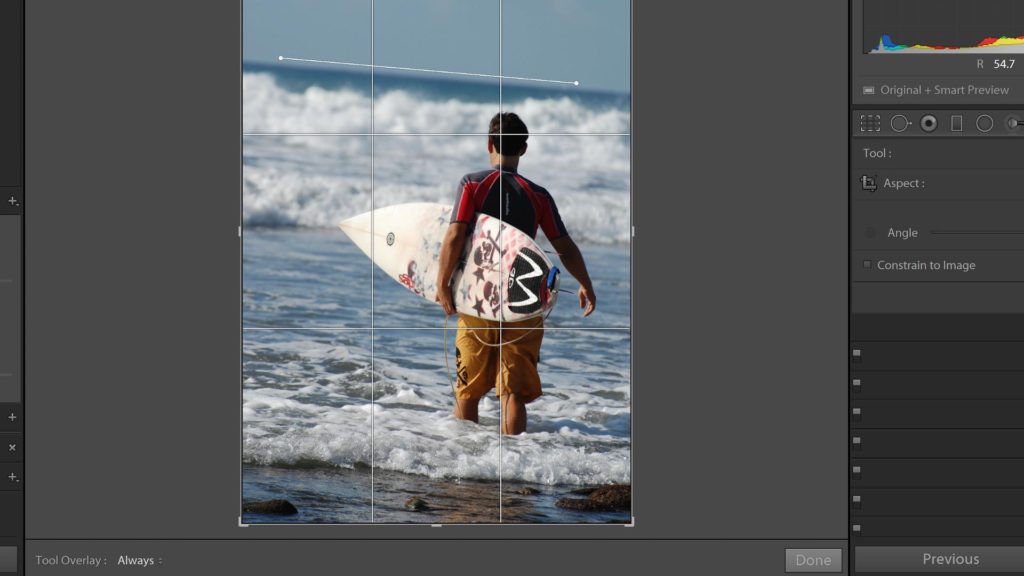
In my example, I’m dragging a straight line along the horizon where the sea meets the sky, because it is very obviously crooked. Release the mouse button and your image is rotated.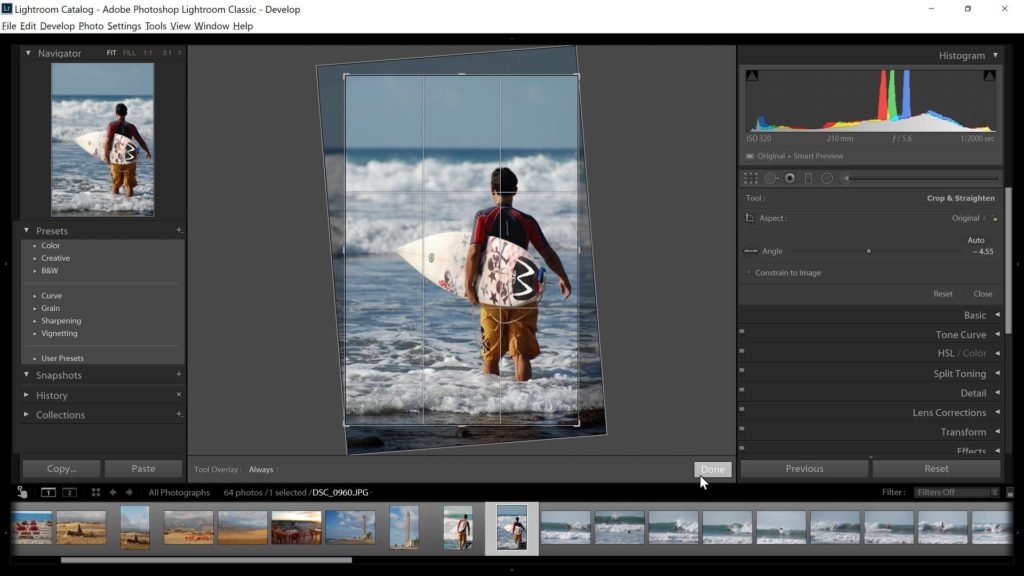
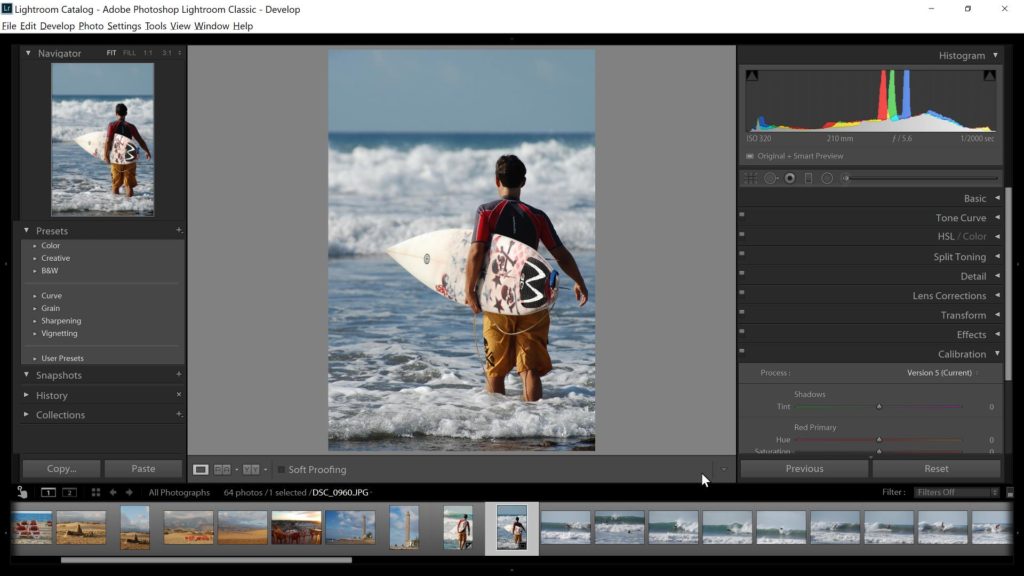
And that’s it!
- If you’re not happy with the result, simply undo the step (Ctrl+Z / Cmd+Z) or press the Reset button in the bottom right of the screen and try again.
You can find some more Beginner’s Adobe Lightroom Tutorials here.
I hope you found this Lightroom tutorial useful. Please share it with your friends or other people who might be interested. Thank you:)
