One of the joys of working on photos, graphics or illustrations is the ability to zoom and pan in Photoshop. Using the Zoom Tool, we can reduce or enlarge our view of the images, and using the Hand Tool we can push the image around to view parts of it without changing the magnification.
The quickest way to Zoom In to an image is to press the keyboard shortcut Ctrl + (plus symbol) in Windows or Cmd + (plus symbol) on the Mac. To Zoom Out, press Ctrl – (minus symbol) or Cmd – (minus symbol).
Follow along with this Photoshop tutorial and you’ll learn other ways to zoom, pan and use the Navigator panel effectively.
Download a free Photoshop trial
Some of the links in this post are affiliate links. This means if you click on the link and purchase the item, I will receive an affiliate commission at no extra cost to you. All opinions remain my own.
The Zoom Tool In Photoshop
1. Open an image in Photoshop using File > Open and browse for your image.
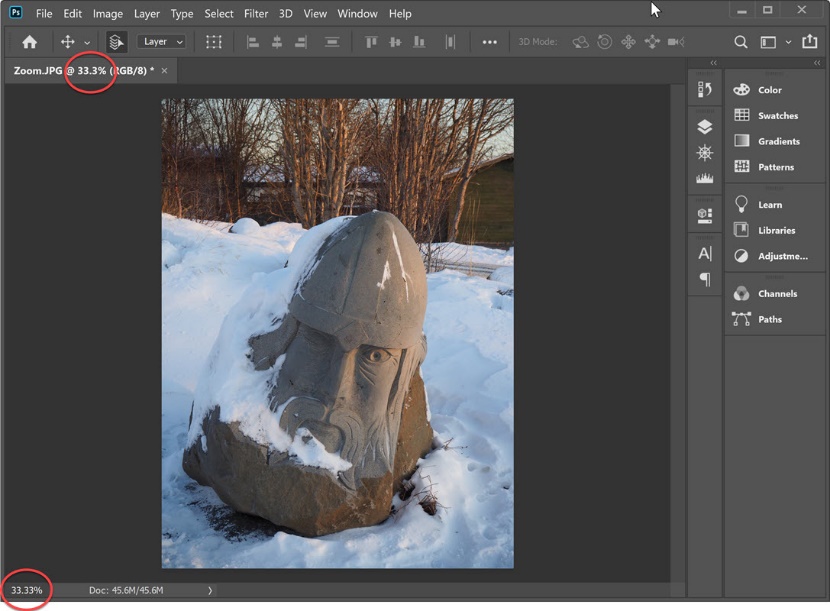
2. When your image opens in Photoshop, take a look at the status bar at the bottom of the image window. This tells us the current zoom level of the image. The zoom level also appears in the image tab.
3. Select the Zoom Tool from the toolbar, or press Z on your keyboard. ![]()
Note: You will use the Zoom tool a LOT. Try to remember Z for Zoom as a shortcut.
Zoom In
1. Move the cursor over your image. The cursor changes so that it looks like a little magnifying glass with (+) in the center. ![]()
2. Click once anywhere on your image.
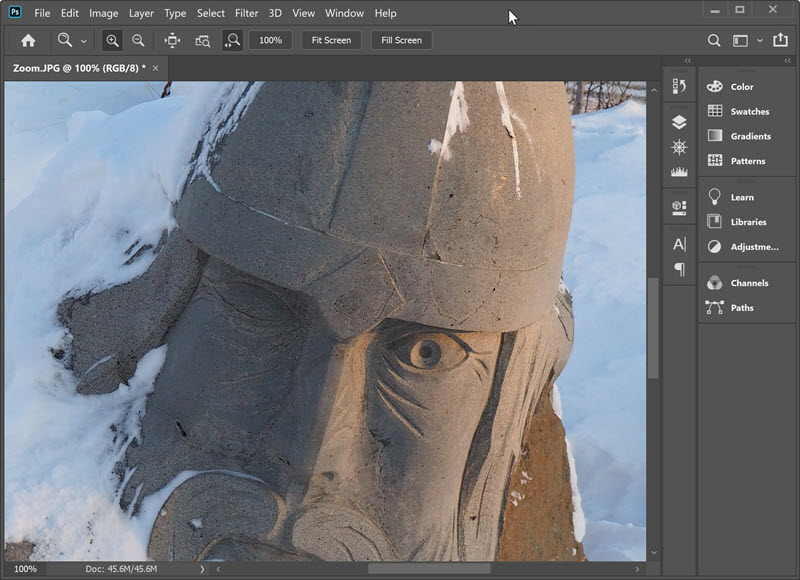
The image enlarges, and a new zoom level appears in the status bar and on the image tab. The area where you clicked with the Zoom tool becomes the centre of the enlarged view.
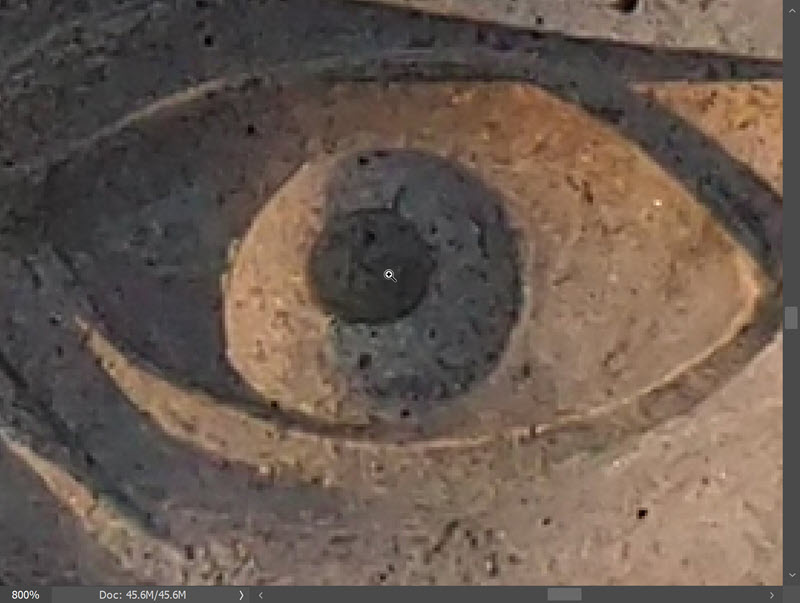
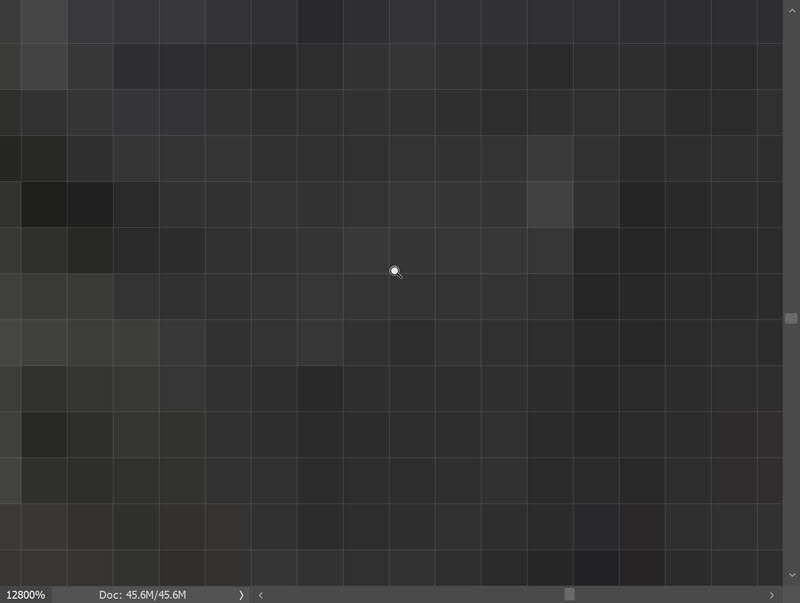
Keep clicking until the image is magnified up to a maximum of 12,800%. At this level, you can see the individual pixels that make up the image.
Zoom Out
1. Hold down the Alt key (Windows) or Option key (Mac). The Zoom tool magnifying glass appears with a minus sign (–) in the centre and then click anywhere in the image. The view now zooms out to a lower magnification.
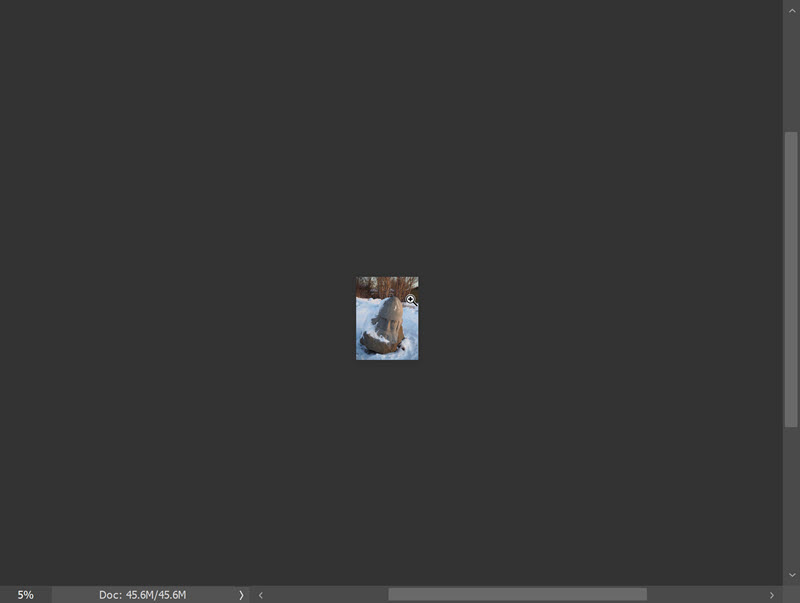
2. Zoom out again by holding down the Alt key (Windows) Option key (Mac) or and continue to click until you have zoom out to 0.06% of the image’s actual size.
Zoom Tool Tip: To quickly get back to 100% magnification, double click the Zoom tool on the toolbox.
Zooming into a specific part of the image
1. With the Zoom tool selected, on the Options bar at the top, make sure that “Click and move left or right to zoom” is not turned on. This button is also known as the “scrubby” Zoom. For now, we’ll leave it off.

2. Click and drag a rectangle around an area in your photograph. You will see dotted lines forming the rectangle shape as you drag.
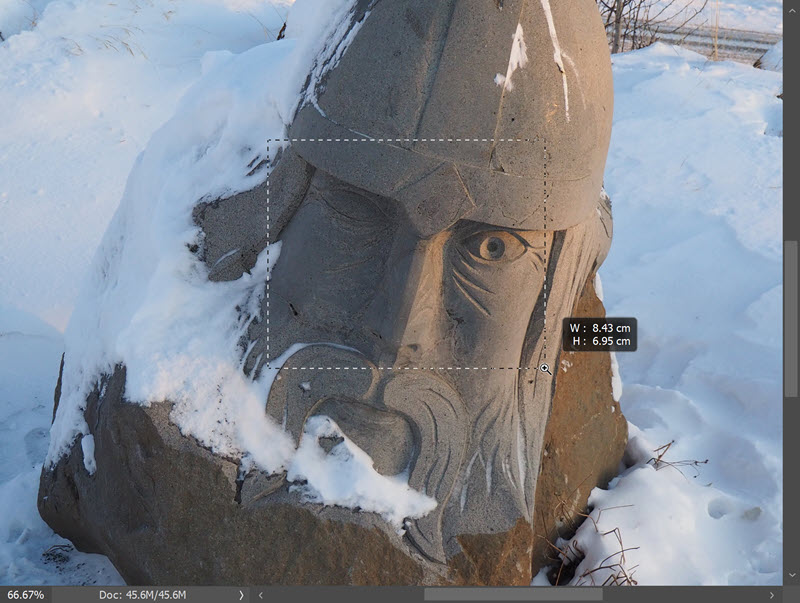
When you have dragged the rectangle to the size you want, let go of the mouse button. The image is magnified so that the area you enclosed in the rectangle now fills the entire image window.
Using the “Scrubby” Zoom.
1. With the Zoom tool still selected, on the Options bar at the top, click on the “Click and move left or right to zoom” button.

2. Click and drag to the left, the magnification level is reduced i.e. zoomed out.
3. Click and drag to the right, the magnification level is increased. i.e. zoomed out.
How to use the Hand tool in Photoshop
The hand tool lets you pan or move around your image. It feels almost as if you are pushing a photograph around on your desk. The Hand tool sits in the toolbar and can be selected by clicking on it. However, the easiest way to use it is simply to press the space bar on the keyboard. Here’s a quick demonstration of how to use it.
1. With an image open in Photoshop, zoom in using the Zoom tool (Z). ![]()
2. Select the Hand tool in the toolbar. ![]() The cursor changes to a hand, then click and drag on your image to pan around the picture. You’ll see that your picture moves in the direction that you push it.
The cursor changes to a hand, then click and drag on your image to pan around the picture. You’ll see that your picture moves in the direction that you push it.
This is useful because it means we don’t have to zoom back out again to work on another part of the image. We can simply pan across to the part we want to see.
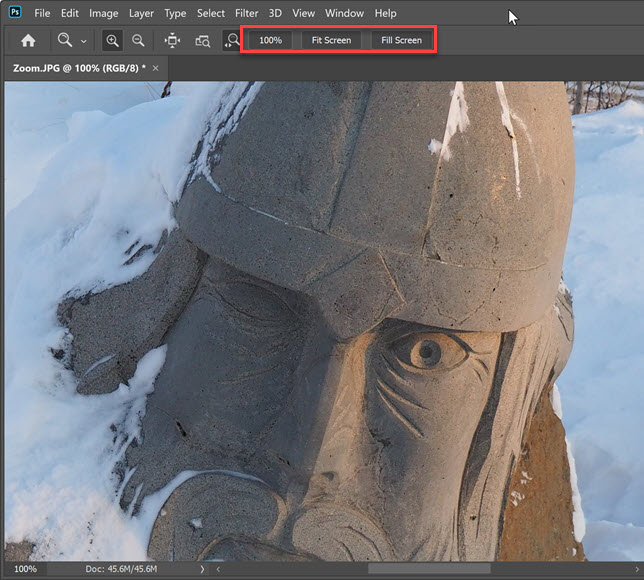
Notice that when the Hand tool is selected the options bar at the top shows 3 buttons: 100% (or actual pixels), Fit Screen and Fill Screen. These options let you change the magnification level of your image while using the Hand.
Hand Tool Keyboard Shortcut
Select the zoom tool again by pressing Z. Hold down the space bar and you will see the cursor changes to the Hand tool. Keep pressing the space bar on your keyboard and push your image around so you can see all parts of it.
Hand tool tip: Double click the hand tool in the toolbar to fit your whole image on your screen. This is the same as using Ctrl+0 (windows) Cmd+0.
Zooming and panning with the Navigator panel
The Navigator panel in Photoshop lets you change the view of your image using a thumbnail display. The red box in the Navigator represents the currently viewable area in the window.
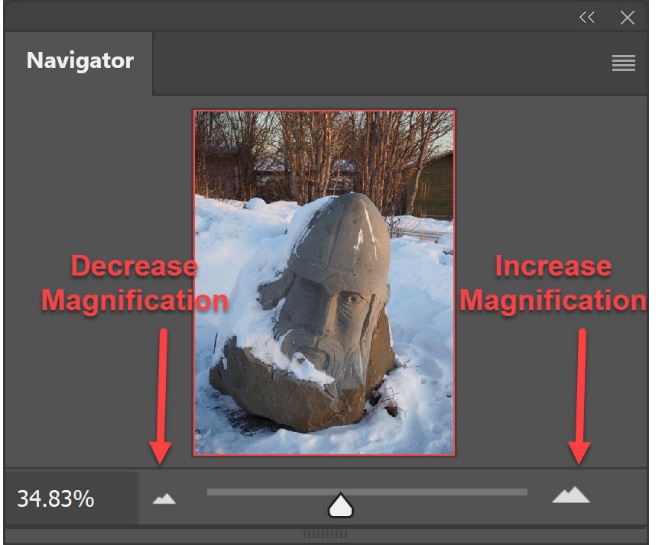
1. Drag the slider on the Navigator panel to the left and right to see how it affects your view of the image.
2. Drag the slider all the way to the right so that the image is enlarged to 3200%.
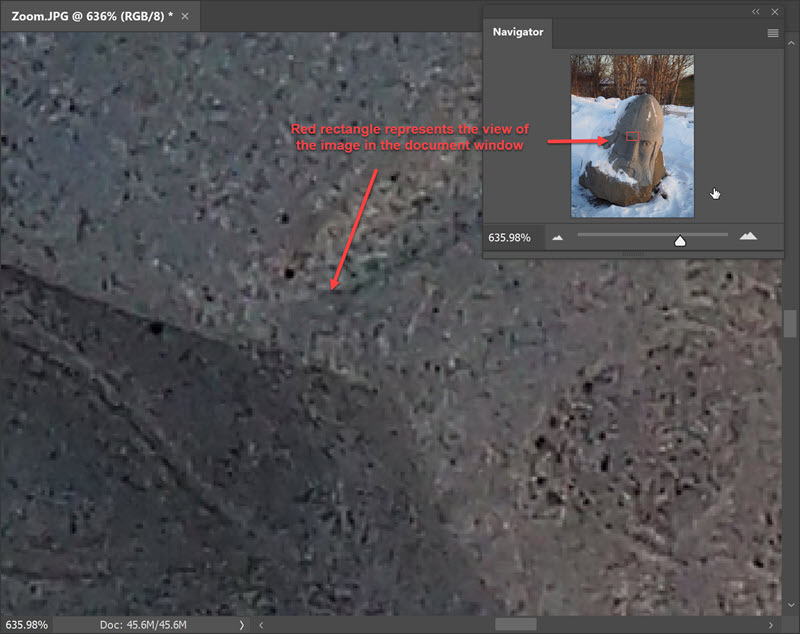
3. Put your cursor over the red rectangle in the Navigator panel and notice it changes to a hand icon. With the hand, drag the rectangle around in a panning motion.
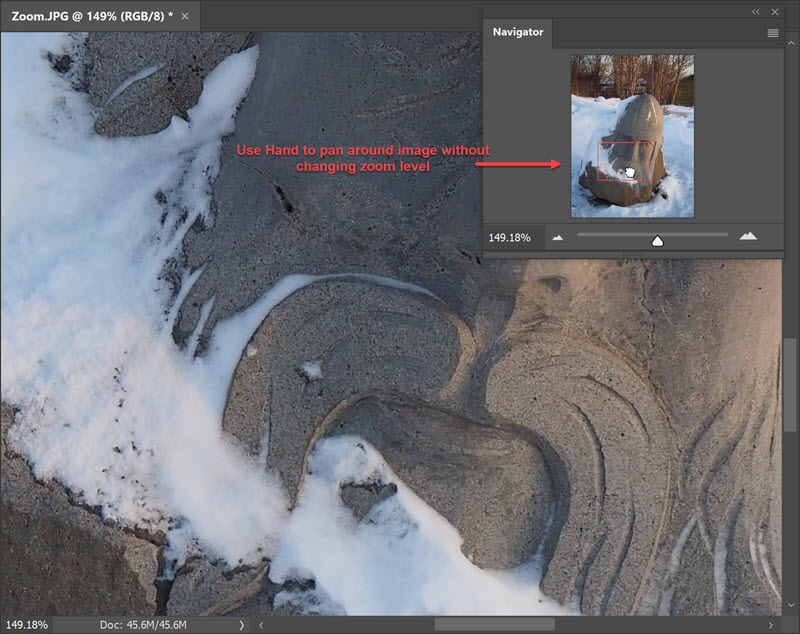
As you can see the Navigator panel is like a combination of the Zoom tool and Hand tool functionality.
That ends this tutorial on how to zoom and pan in Photoshop. Don’t forget the shortcutes are Z for Zoom and Spacebar for panning using the Hand tool.
I hope you found this useful. Please share!


